Upload your PDF to Canva, edit text and images, then download as a new PDF.
I’ve edited hundreds of PDFs in Canva for clients, marketing teams, and personal projects. This guide shows exactly how to edit a PDF file in Canva step by step, with tips, limits, and real-world fixes. You’ll learn practical methods, common pitfalls I’ve seen, and quick tricks to get clean, print-ready PDFs from Canva fast.
Why use Canva to edit PDFs
Canva is simple. It blends drag-and-drop design with PDF import. Many people ask how to edit a PDF file in Canva when they need fast layout changes. Canva handles images, text blocks, and simple page rearrangement well. It also keeps output looking modern and clean.
I use Canva when I need quick edits, new cover pages, or to turn a PDF into social posts. It is fast for teams and non-designers. Still, it has limits. Knowing those helps you avoid wasted time.
Step-by-step: How To Edit A Pdf File In Canva
This section walks through the full process. Follow each step for best results.
- Create or sign in to your Canva account.
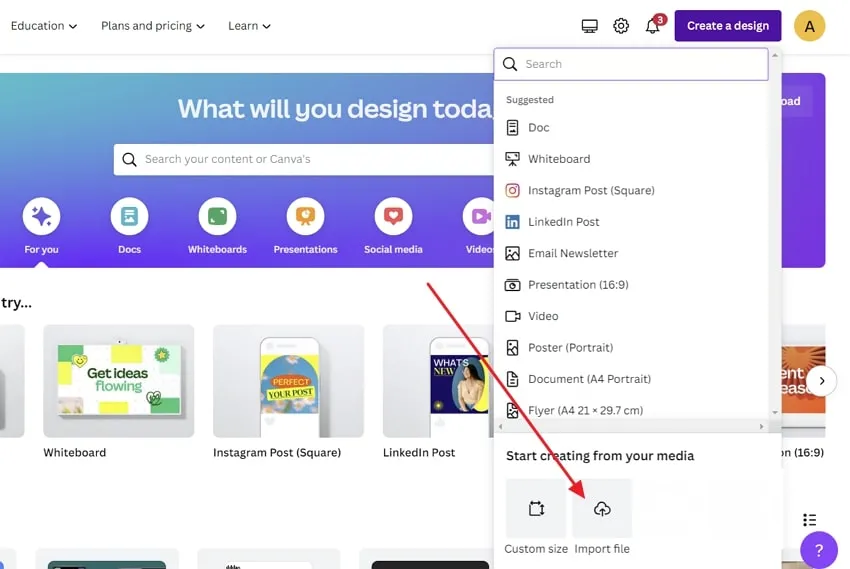
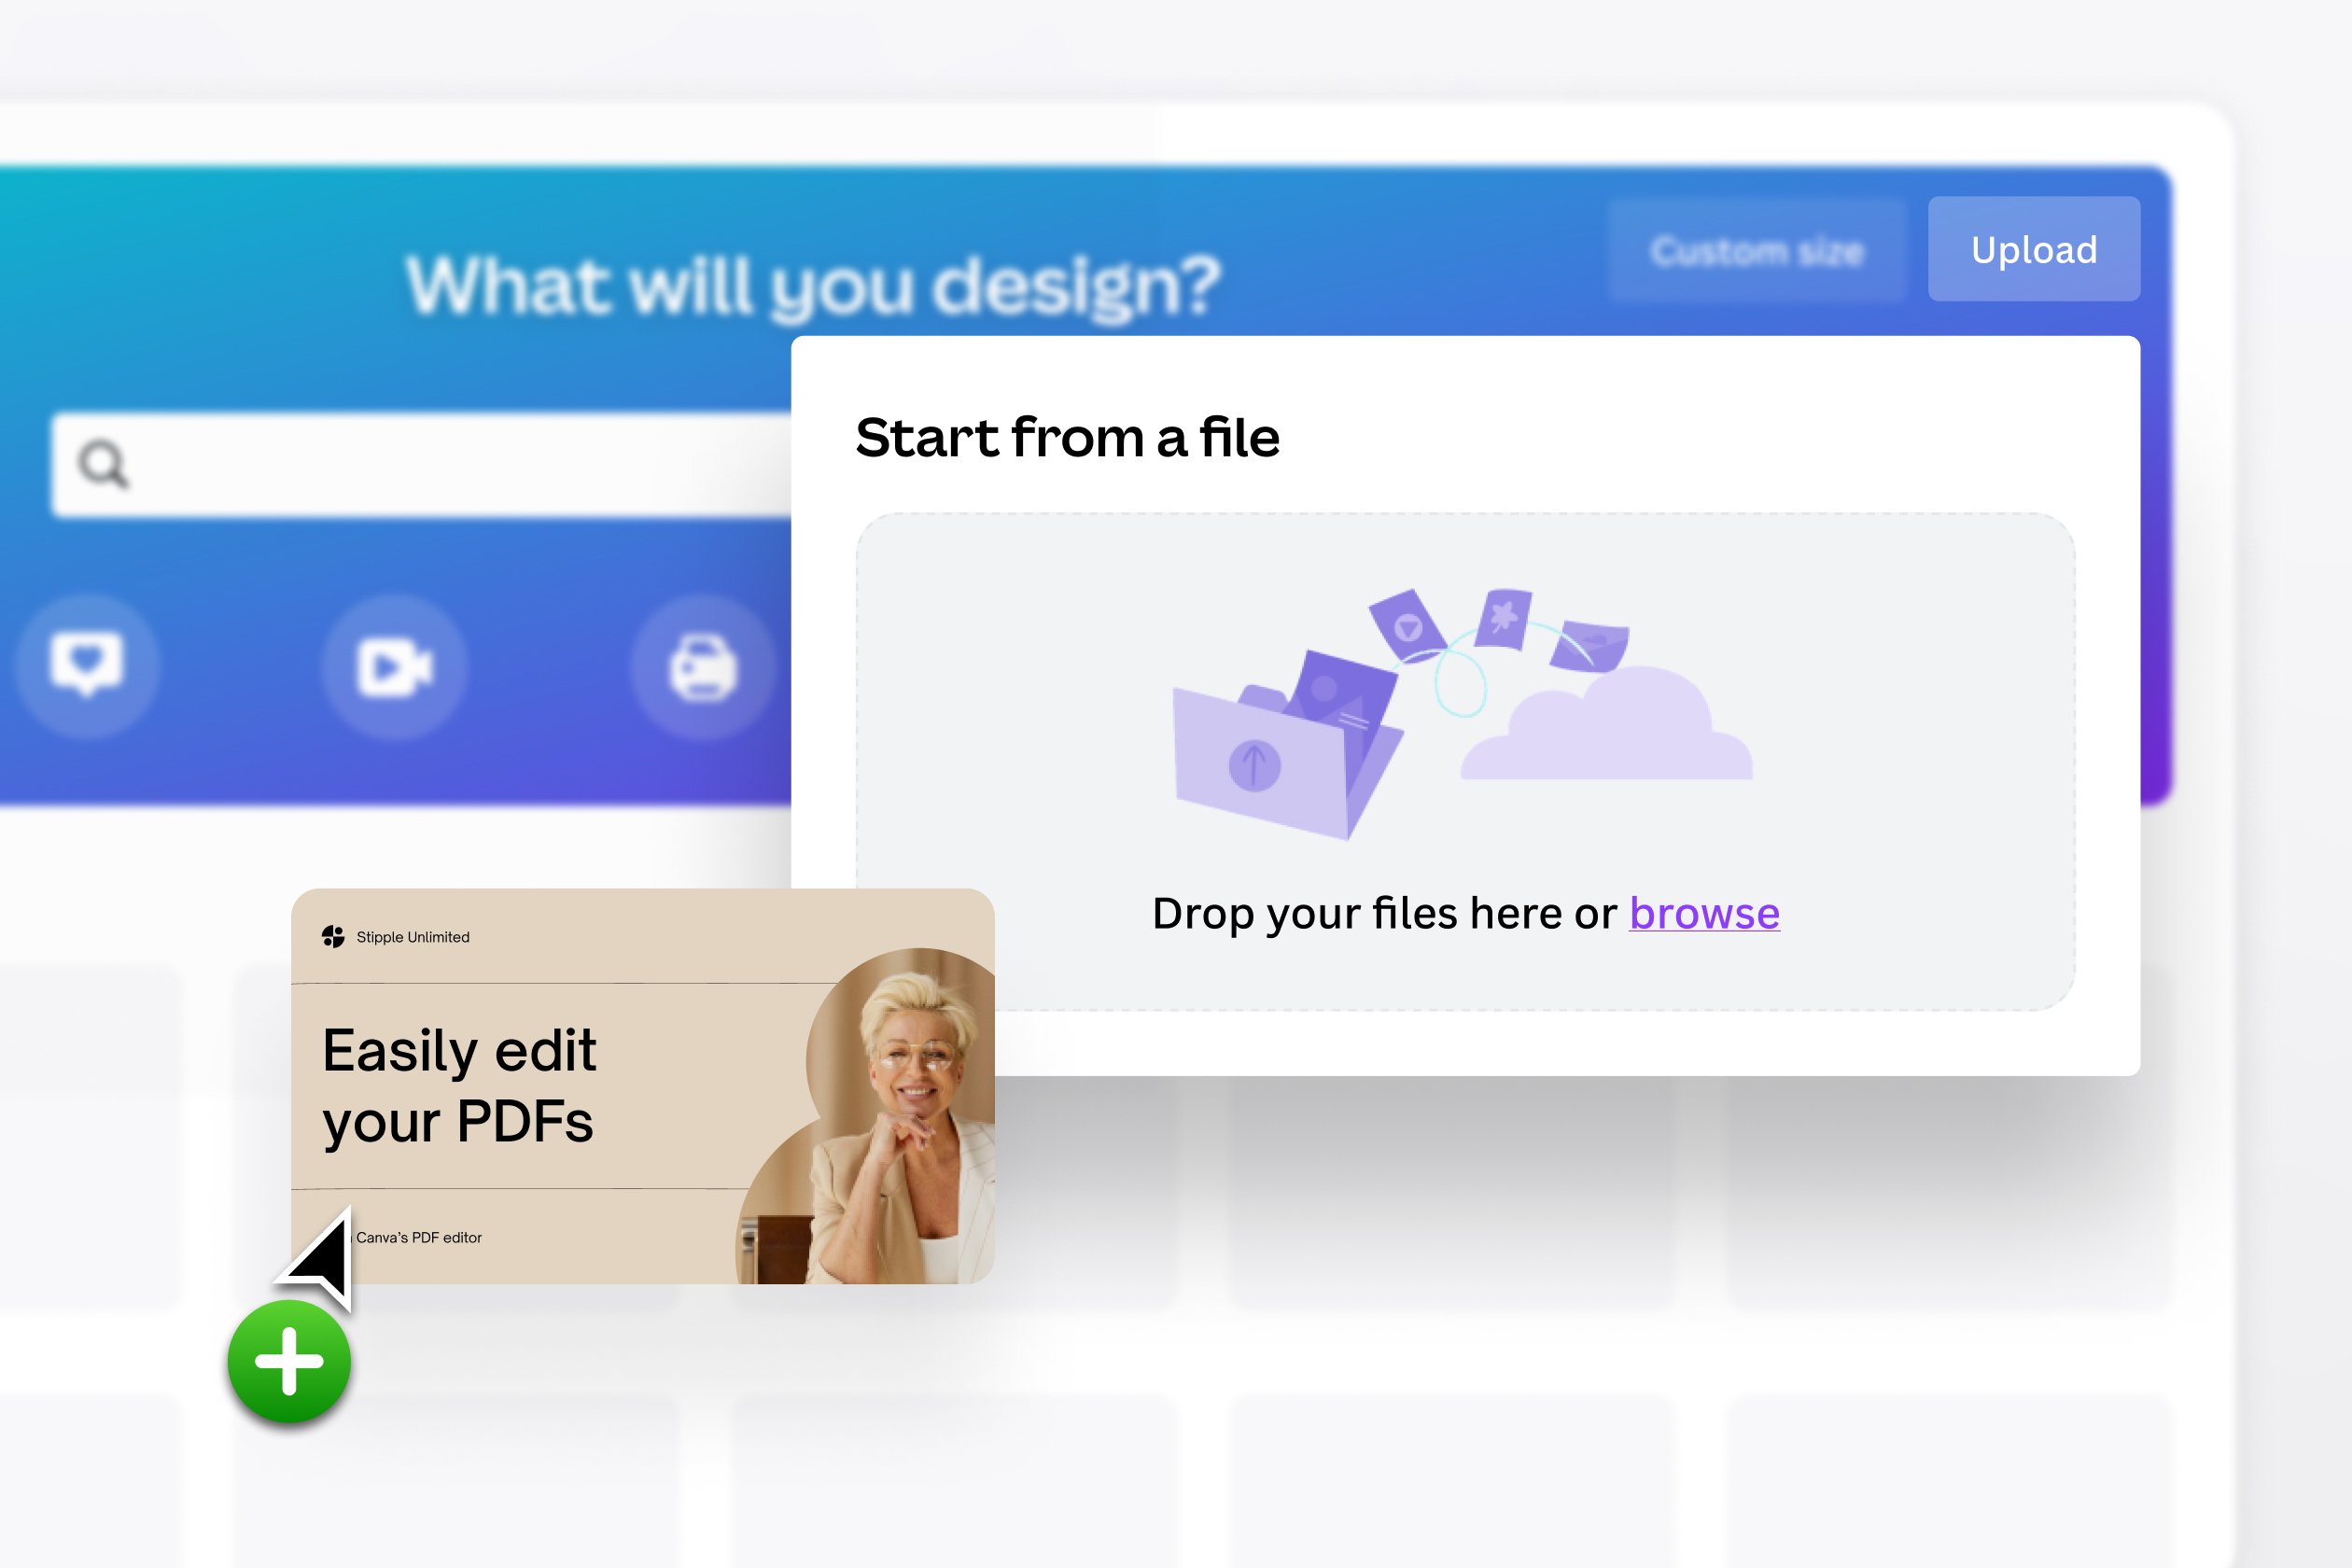
- Click Create a design or go to the Home screen and choose Uploads.
- Upload the PDF file you want to edit. Canva will import each page as editable pages.
- Open the imported PDF in the Canva editor. Each page appears in the page panel.
- Edit text: click a text box, change the text, font, size, or color. Some text may be converted to images and need retyping.
- Edit images: click an image to replace, crop, filter, or reposition it. Use “Replace” to swap images quickly.
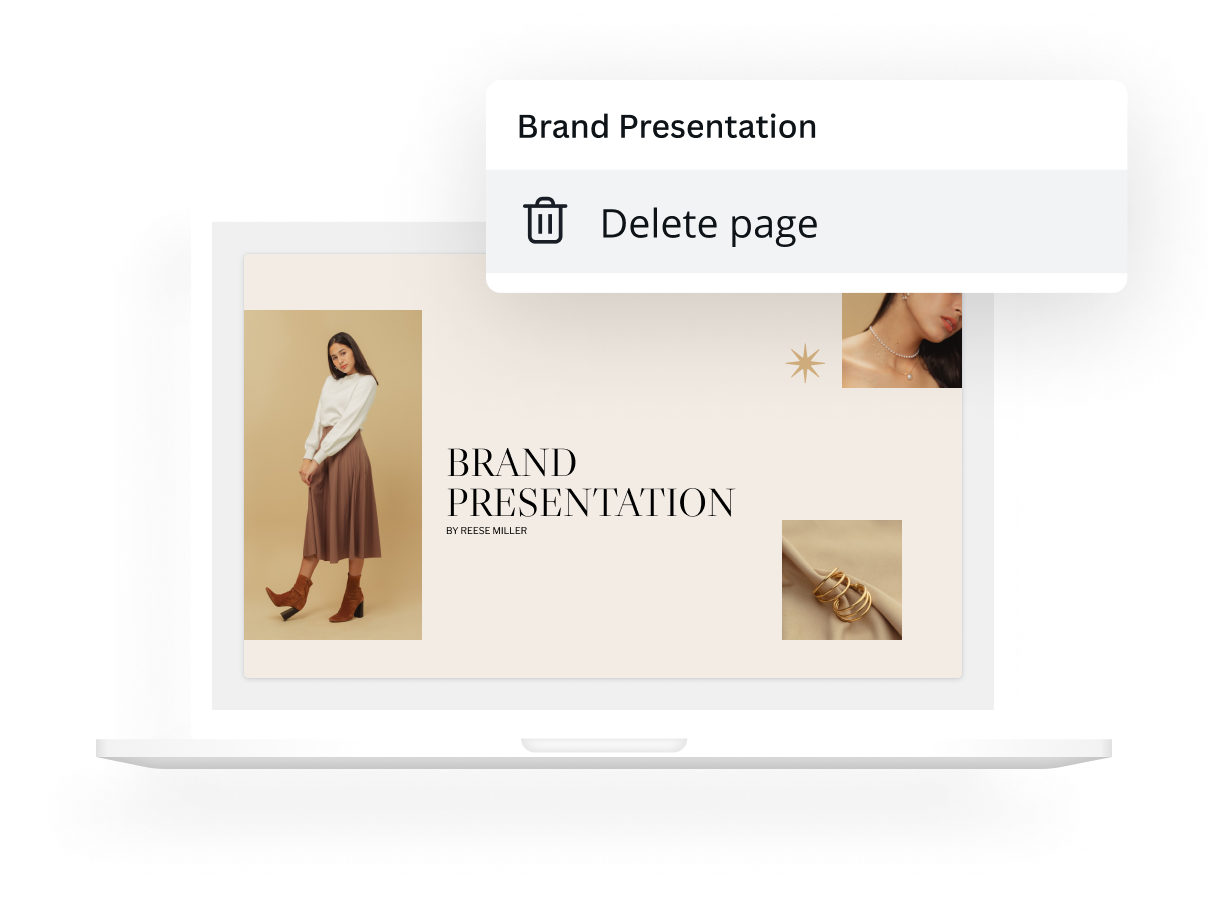
- Add or remove pages: use the page menu to add blank pages, duplicate, or delete pages.
- Rearrange pages: drag page thumbnails to reorder them.
- Add design elements: shapes, icons, or charts can enhance the PDF. Use Canva’s elements library.
- Check alignment and fonts: confirm fonts are consistent and that text fits the layout.
- Export: click Share > Download and choose PDF Standard or PDF Print. Select crop marks or flatten if needed.
If you run into text that is not editable, it often means Canva treated parts as flattened images during import. You can re-create those text blocks using Canva text tools. The phrase how to edit a PDF file in Canva is key to solving this: import, edit, and export cleanly.

Practical tips and common mistakes
These tips come from projects I’ve done. They save time and reduce rework.
- Always keep a backup of the original PDF before importing. You can revert if needed.
- Use PDF Print for final, high-quality output. Use PDF Standard for smaller file size.
- If fonts look wrong, replace them with a similar font available in Canva or upload the font if you have a pro plan.
- Re-create complex text effects. Some effects import as images and are not editable.
- Use guides and snap-to-grid to keep layouts aligned.
- Avoid heavy vector edits. Canva is not a vector editor and can alter vector precision.
I once spent hours fixing a brochure because the client used a rare font. Uploading the font solved it. That taught me to ask about fonts early. These lessons make the process of how to edit a PDF file in Canva smoother.

Handling scanned PDFs and OCR alternatives
Scanned PDFs often come as images. Canva cannot perform OCR (optical character recognition) inside the editor. That matters when you need editable text.
- If the PDF is scanned, run OCR in a tool first to convert images to text.
- After OCR, download the new PDF and then import it to Canva for layout edits.
- For small edits, you can overlay new text boxes on top of scanned text in Canva.
From my work, I recommend OCR first for multi-page documents. This step prevents hours of manual retyping. It’s a key part of how to edit a PDF file in Canva when dealing with scanned documents.

Advanced edits: fonts, brand kits, and collaboration
Canva Pro gives extra power for PDFs. Brand kits, uploaded fonts, and team folders speed up consistent edits.
- Upload custom fonts to match brand guidelines.
- Use Brand Kit for consistent colors and logos.
- Share editable links for team collaboration and comments.
- Use version history to restore earlier edits if needed.
I advise agencies to use a team account. It keeps assets in one place. Mastering these tools changes how to edit a PDF file in Canva from a solo task into a smooth team workflow.
Exporting, printing, and accessibility
Export settings affect print quality and file size. Choose wisely.
- PDF Print gives higher resolution and bleed settings for print.
- PDF Standard is smaller for email and web.
- Flattening can lock fonts and reduce font substitution issues.
- Add alternative text for images to boost accessibility where required.
I once exported without bleed and had print crop issues. Now I check bleed and ruler marks before final export. That attention helps when editing a PDF file in Canva for print jobs.
Limitations and workarounds
Canva is great for many tasks but has constraints. Knowing them saves time.
- Complex PDFs with layered vectors may not import cleanly. Workaround: use a vector editor then import flattened pages.
- Heavy interactive PDFs with forms or scripts are not fully supported. Workaround: use dedicated PDF editors for forms.
- OCR is not built in. Workaround: use an OCR tool before importing.
- Exact typographic control is limited. Workaround: recreate key text elements in Canva.
Being honest about limits helps set expectations. For many users, Canva covers 80% of edits. For the rest, pair it with a dedicated PDF tool to finish. This balanced view of how to edit a PDF file in Canva helps you pick the right tool for the job.
Real-world examples and a mini case study
Example 1: Redesigned a 12-page product brochure. I replaced photos, updated specs, and exported PDF Print. The client liked the faster turnaround.
Example 2: Converted a one-page flyer into multiple social posts. I used Canva’s resize tool and maintained brand assets with the Brand Kit.
Lesson learned: always ask for original fonts and image files. That reduces quality loss when you edit a PDF file in Canva.

Frequently Asked Questions of How To Edit A Pdf File In Canva
How do I upload a PDF to Canva for editing?
Open Canva, click Uploads, and drag your PDF file into the uploads area. Each page imports as an editable page in the editor.
Can I edit text directly from the imported PDF?
Often yes, but some text may import as an image. Editable text boxes can be clicked and changed; images with embedded text must be re-created.
Will Canva keep my original fonts when editing a PDF?
Canva keeps fonts only if the font is available or uploaded. If a font is missing, choose a replacement or upload the font on Pro accounts.
Can I use Canva to edit scanned PDFs?
Not directly. For scanned documents, run OCR first in a separate tool, then import the OCR’ed PDF into Canva for layout changes.
What export options should I use for print?
Choose PDF Print for high quality and to include bleed or crop marks. Use PDF Standard for smaller, web-friendly files.
Conclusion
You can quickly edit a PDF file in Canva by importing, editing text and images, and exporting with the right settings. Start by backing up your original PDF, check fonts and text types, and use OCR if the PDF is scanned. Try a small test page first to confirm fonts and layout before doing a full export. Put these steps into use today, and share your results or questions in the comments.